


4 color 4 station screen printing press for sale
Product Description

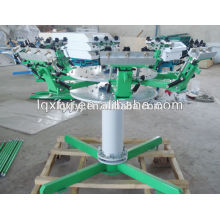
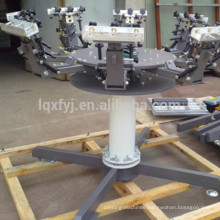
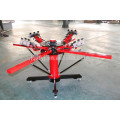
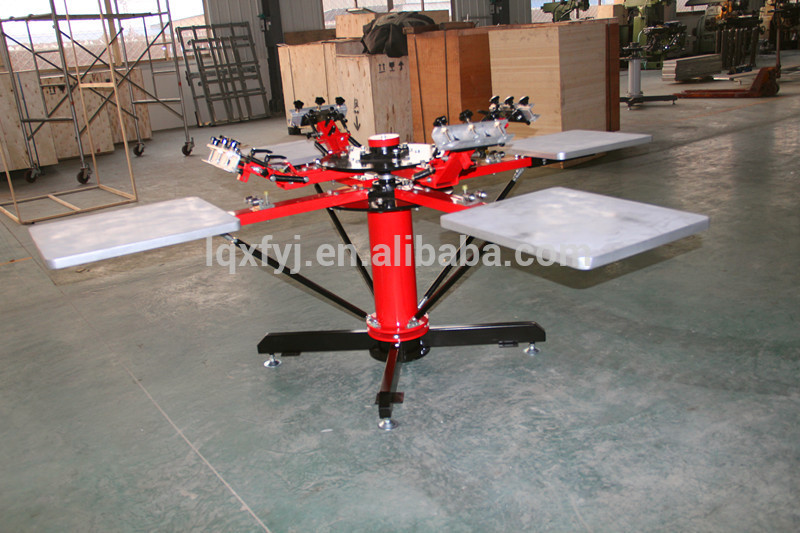
Manual 4 color 4 station T Shirt Screen Printing press manufacturer
Product Details:
Condition | New |
Place of Origin | Shandong, China (Mainland) |
Brand Name | Xinfeng |
Model Number | XF-440 |
Automatic Grade | Manual |
Color & Page | Multicolor |
Dimensions(L*W*H) | 2800*2800*1100mm |
Weight | 220kg |
Name | |
Printing color | 4 color |
Printing surface | Flat |
Printing speed | 500Pcs/Hour |
Maximum print size (length* width) | 600X500mm |
Print height | 5mm |
Max frame size | 600x700mm |
Printing products | T-shirts, clothing, backpacks, cloth, towel, leather, etc. |
Warranty | one year |
Mode of operation | Manual Rotation |
Payment & Shipping Terms:
Minimum Order Quantity: | 1 Set/Sets |
Port: | Qingdao |
Packaging Details: | wooden case packaging,Volume:about 1.4 cubic meters,weight:272kg, It is suitable for shipping |
Delivery Time: | three days |
Payment Terms: | L/C,T/T, |
Supply Ability: | 1000 Set/Sets per Month |
| 1)Applicable Scope and advantage This Manual 4 color 4 station t-shirt Screen Printing Machine is widly used in textile/garment screen printing industry, such as garments, T-shirts and sport cloths, bags, PVC and so on. this screen Printing Machine is suitable for clothing overprinting. It is widely used to overprint T-shirts, clothing, backpacks, leather, cloth, towel and many other items. Cooperating with far infrared dryer can improve overprinting working effect.it is characterized by accurate positioning,saving room,saving labor and other advantages.it is particularly suitable for t-shirt shop, small business and individual printing shop etc. | ||||||||||||
| 2)Feature: 1). It is characterized by accurate positioning, free adjustment, stability of machine body and simple operation. This is designed for T-shirt. 2). It can accurately register and remain positioning unchanged permanently. Its angle for silk screen and distance for leaving the screen adjustable. 3). Its central bearing-type rotation design can have the screen plates and table freely rotate. 4). Its drawing force can be adjusted as per its weight of printing plates 5). We also can supply the different size of screen printing machine according to customer's requirement | ||||||||||||
| 3)Installation and Adjustment 1) After opening the box, check whether the rotating machine is broken or not, and the accessories are all in readiness or not. 2) Use the equipped bolts to fix the under support arms onto the underlaid rotating table according to mark. Do a little fastening in case to adjust later. 3) Put the upper support arm on the positioning blocks of the under support arm one by one. The upper arms have been adjusted already before selling, and they cannot be loosened. Use the 2 bearings on the under arm to fasten tightly. 4) Put up all the upper arms and rotate them by 60°. Then put down all the upper arms one by one, and make sure all of them would fallen down in the middle of the positioning blocks 5) Repeat rotating like this by 360°. Properly adjust the gradient of under arms, to make sure all upper arms smoothly locate into the positioning blocks of the under arms. At the moment, fasten all the bolts of under arms. Now the adjusting process is finished. 6) Use the small screws to fasten the fixed frame of the bedplates on bottom. 7) Installing bedplate is fastened in the working position of under arms.Fasten the net frame on the clamp. When putting down the screen plate, it can match the area of the bedplate. 8) According to the overprinting requirement of the pattern, you can adjust fine tuning handle, to make the printing accuratly during the work. | ||||||||||||
| 4)Usage Steps 1) Screen Installation and Distance Adjustment. The distance is about 5-10 mm. Install screen frame on the clamp of the upper arms, then fasten it tightly. Adjusting the five-star handle can adjust height. The five-star handle can adjust left-and-right movement, and the effect of inclining up and down, to make the distance between screens meet the printing demand. When necessary, adjust the 4 M6 Allen screws on the back of the net frame clamp which fixed net frame, and it can adjust and fasten the net frame clamp. Use the 2 M8 fine tuning handle to do the fine tuning 2) Fix the product position According to differences of overprinting products, you can stick or paste on the bedplate, and set the substrates on the bedplate to print easily. 3) Allocating dryer to improve the efficiency When printing the products, wait until the ink is dry, then you can over print. And a small dryer can improve the efficiency according to the specific condition. Adjust the properly allocated dryer to 50-100 mm high above the bedplate, and according to the printing speed and the demand for heat, choose the heating effect of the dryer. Specific using method can be seen on the dryer introduction. 4) Pilot Printing Put the upper arm which has equipped screen down in the middle of the 2 bearings on positioning block and do single-colour printing. Put up the upper arm and rotate it by 60°to certain direction, to heat it by dryer. Put down the upper arm to print the next substrate, and put up upper arm and rotate the underlaid rotating table by 60°to rotate the substrate to the next printing station. Proofread the screen on this station. Repeat the steps above and adjust the screen’s distance. After proofreading the screens, overprint next colour and so on. 5) Printing When the trying printing is ok, formal printing can be started. If the printed pattern has any deviation, do some proper adjustment to overprint specifically. | ||||||||||||
| 5)Attention As to improve the printing quality to get ideal print effect, when stretching the net to make the screen and printing, we advice to use unified aluminum alloy screen frame. The stretching tension of using the screen should get consistent. | ||||||||||||
| 6)Technical parameters
|
8) process of screen printing and printing sample


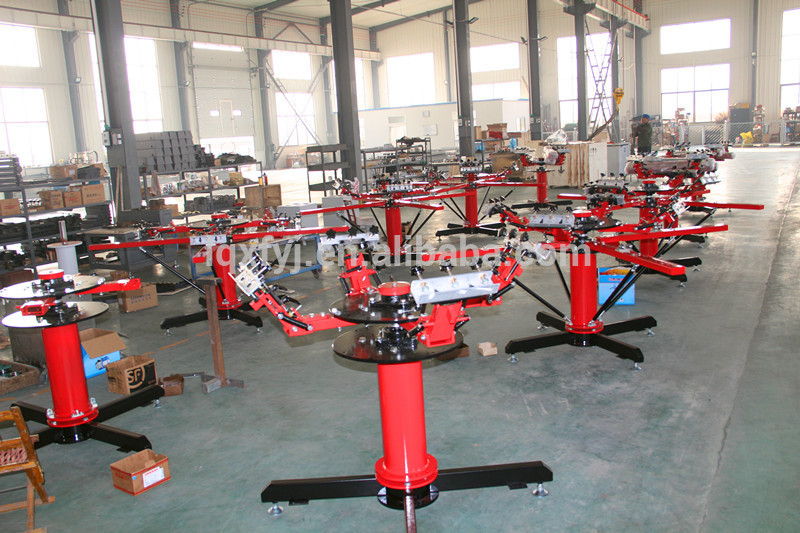
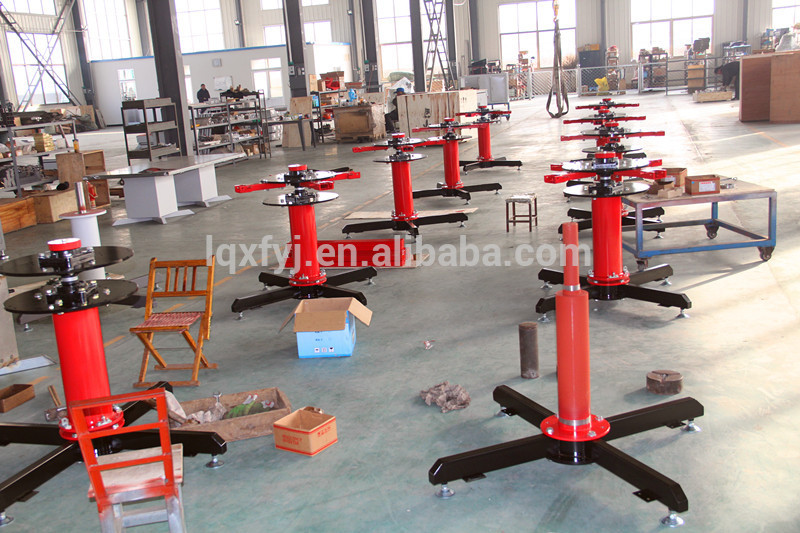
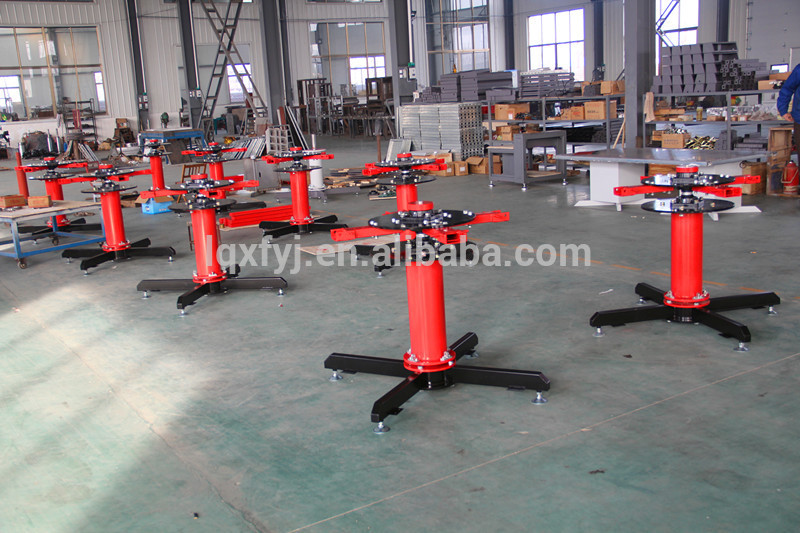
workshop corner:

1. What is the screen printing press?
Screen printing is a printing technique that uses a woven mesh to support an ink-blocking stencil to receive a desired image.
The attached stencil forms open areas of mesh that transfer ink or other printable materials which can be pressed through the mesh as a sharp-edged image onto a substrate. A fill blade or squeegee is moved across the screen stencil, forcing or pumping ink through the mesh openings to wet the substrate during the squeegee stroke. Basically, it is the process of using a mesh-based stencil to apply ink onto a substrate, whether it be t-shirts, posters, stickers, vinyl, wood, or other material.
2. What types of products and multicolor overprinting?
You can screen printing a very wide range of substrates for regular flat surface,
including t-shirts, posters, stickers, vinyl, wood, or other material. Please noted, screen printing just for 1 color at a time. Multicolors is available, need to register colors with overprinting

3.How does Screen Printing work?
It is simple:
- Image is exposed in a screen plate.
- The plate is flooded with ink and wiped clean, leaving ink in the image area only.
- The squeegee press the image ink permeate mesh onto article .
4. Why choose screen printing press?
The layer ink of screen printing machine is thicker, then have more third dimension.
5. How to install and adjust the screen printing press?
Installation and Adjustment:
1) After opening the box, check whether the screen printing press is broken or not, and the accessories are all in readiness or not.
2) Use the equipped bolts to fix the under support arms onto the underlaid rotating table according to mark. Do a little fastening in case to adjust later.
3) Put the upper support arm on the positioning blocks of the under support arm one by one. The upper arms have been adjusted already before selling, and they cannot be loosened. Use the 2 bearings on the under arm to fasten tightly.
4) Put up all the upper arms and rotate them by 60°. Then put down all the upper arms one by one, and make sure all of them would fallen down in the middle of the positioning blocks
5) Repeat rotating like this by 360°. Properly adjust the gradient of under arms, to make sure all upper arms smoothly locate into the positioning blocks of the under arms. At the moment, fasten all the bolts of under arms. Now the adjusting process is finished.
6) Use the small screws to fasten the fixed frame of the bedplates on bottom.
7) Installing bedplate is fastened in the working position of under arms.Fasten the net frame on the clamp. When putting down the screen plate, it can match the area of the bedplate.
8) According to the overprinting requirement of the pattern, you can adjust fine tuning handle, to make the printing accuratly during the work.
Usage Steps:
1) Screen Installation and Distance Adjustment. The distance is about 5-10 mm.
Install screen frame on the clamp of the upper arms, then fasten it tightly. Adjusting the five-star handle can adjust height. The five-star handle can adjust left-and-right movement, and the effect of inclining up and down, to make the distance between screens meet the printing demand. When necessary, adjust the 4 M6 Allen screws on the back of the net frame clamp which fixed net frame, and it can adjust and fasten the net frame clamp. Use the 2 M8 fine tuning handle to do the fine tuning
2) Fix the product position
According to differences of overprinting products, you can stick or paste on the bedplate, and set the substrates on the bedplate to print easily.
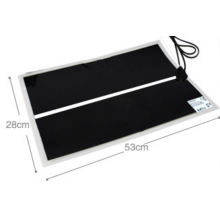
3) Allocating dryer to improve the efficiency
When printing the products, wait until the ink is dry, then you can over print. And a small dryer can improve the efficiency according to the specific condition. Adjust the properly allocated dryer to 50-100 mm high above the bedplate, and according to the printing speed and the demand for heat, choose the heating effect of the dryer. Specific using method can be seen on the dryer introduction.
4) Pilot Printing
Put the upper arm which has equipped screen down in the middle of the 2 bearings on positioning block and do single-colour printing. Put up the upper arm and rotate it by 60°to certain direction, to heat it by dryer. Put down the upper arm to print the next substrate, and put up upper arm and rotate the underlaid rotating table by 60°to rotate the substrate to the next printing station. Proofread the screen on this station. Repeat the steps above and adjust the screen’s distance. After proofreading the screens, overprint next colour and so on.
5) Printing
When the trying printing is ok, formal printing can be started. If the printed pattern has any deviation, do some proper adjustment to overprint specifically.
Attention:
As to improve the printing quality to get ideal print effect, when stretching the mesh to make the screen and printing, we advice to use unified aluminum screen frame. The stretching tension of using the screen should get consistent.
Product Categories : T-Shirt Carousel Screen Printing Machine